
I purchased four cute, colorful frames from Michaels on sale
a while ago. I had originally planned to
put them somewhere in the nursery. Only our
household doesn’t have many surfaces where I can stand up photo frames to begin
with. That space gets even more limited
when trying to keep things out of the babies’ ever expanding reach. What to do?
These frames had nothing on the back to hang
them on the wall. But I knew I wanted them
lined up in a column anyway. So I thought stringing them from a cute ribbon
would solve my display problem.
Making this tutorial to show how I did it, really makes me appreciate all the bloggers out there who post the many great tutorials that I use. Getting everything organized and taking the pictures (and forgetting to take the pictures and then having to backtrack) just adds a lot more work to making an item. So thank you to all those bloggers out there that go through the effort to share their ideas step by step.

The supplies you will need are:
One wide
decorative, sturdy ribbon
One narrower
ribbon (it remains hidden so color doesn’t matter)Four frames with a kickstand (my kickstands attached parallel to the bottom edge--not sure if frames with an angled kickstand will work as well)
Two wooden rings (or any type of decorative shape that you can sew a ribbon on)

Lay out the wooden rings and frames on your decorative ribbon using a ruler to keep the distance between frames constant. Leave enough room at the ends of the ribbon so that it can be folded over and sewn down (take into account that the frames will hang a little lower on the ribbon than pinned because the ribbon loops have to be a little wider than the kickstand top so you have enough room to slip it over the kickstand base).

Mark the placement of the top and bottom of each frame on the ribbon with pins. Then measure the distance from the top of the frame to the top of the kickstand and pin that distance on the ribbon. In the above photo the yellow pins marks the top and bottom of the frames, while the red pin marks the where the kickstand attaches to the frame.
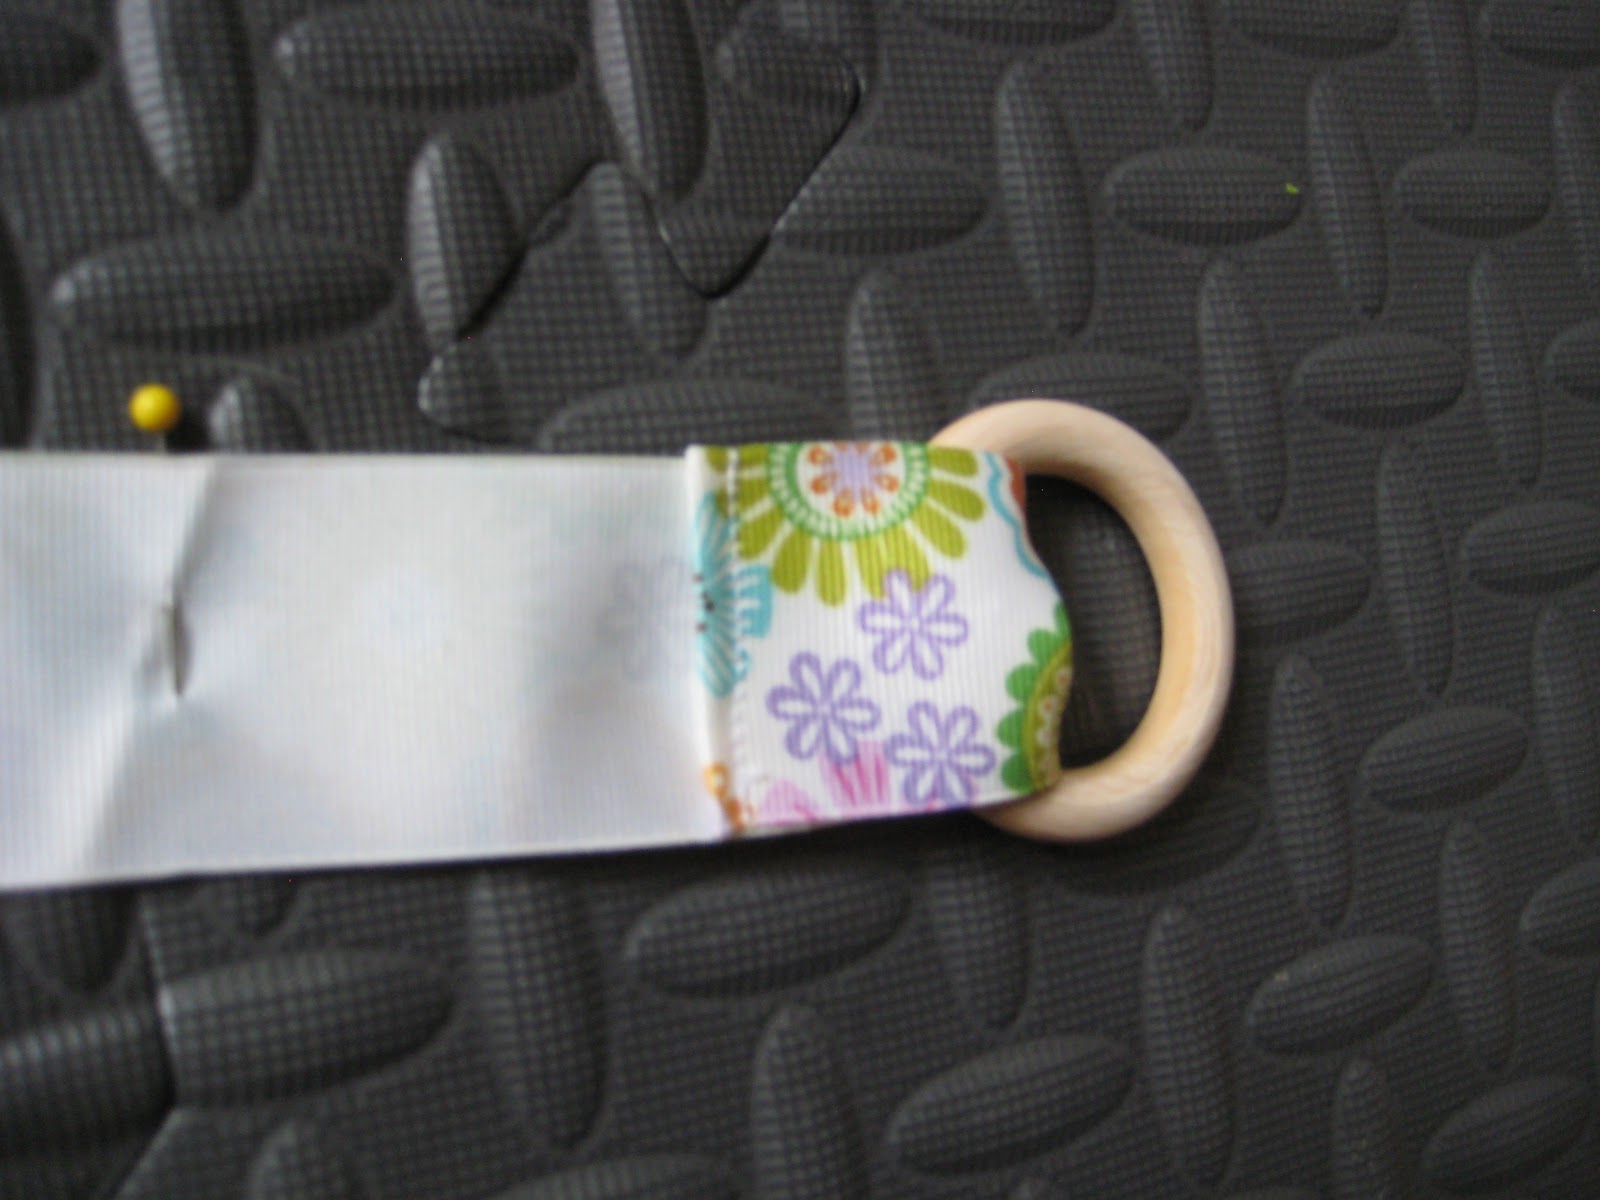
Insert each end of the ribbon through one of the two wooden rings. Turn the edge over 1/4 inch and sew it down.
 Measure the base of the kickstand. Cut four pieces of the narrow ribbon twice as long as the kickstand base minus 1/2 an inch (or just cut it twice as long and allow the ribbon's ends to touch in the next step if you find that easier).
Pin the ends of the narrow ribbon perpendicular to the edges of the decorative ribbon where you marked the placement of the top of the kickstand (for reference, I replaced the red pin with pink and white pins). Leave a half an inch gap between the ends of the narrow ribbon if you cut the ribbon twice as long as the kickstand base minus 1/2 an inch. Sew the ends of the ribbon down. Repeat for each frame.

Insert the kickstand of each frame into ribbon loop and hang by the top wooden ring. Voila . . . a cute way to hang cheap little frames.
I have tried to be clear but please let me know if any parts of this tutorial do not make sense. Thanks.
Great tutorial! I may have to use this one in the future!
ReplyDelete